DIY Automatic Fish Feeder Guide: Build & Test
By Noura Al-Hassan • 4th Apr

A DIY fish feeder guide and approach to homemade automatic feeder construction begins with a fundamental principle: before selecting or building any device, you must understand why your fish need feeding and what consistency achieves health. Too many aquarists chase device sophistication when the real problem is nutritional inconsistency. I've worked with hobbyists whose fish struggled not because they lacked a feeder, but because feeding schedules and portion sizes drifted weekly. A device cannot solve poor protocols; it can only enable them. Nutrition first; devices follow the biology. For the biology behind consistent feeding, see our science-backed fish feeding guide.
What Problem Does a DIY Feeder Actually Solve?
The driving question isn't whether a feeder is cool to build; it's whether it addresses a real feeding challenge. Examine your current setup honestly. Are you missing feeds due to travel, or is manual feeding simply inconsistent? The distinction matters because a poorly designed or mistuned feeder can worsen conditions, creating ammonia spikes, algae blooms, or malnutrition.
DIY feeders excel in two contexts. First: you need programmable precision over multiple days or weeks, particularly during absence. Second: commercial options fail to match your species' specific needs (portion size, meal frequency, or food type incompatibility). If you're feeding every other day and your routine is reliable, a feeder may not solve a real problem; it may introduce one. That distinction clarifies the decision.
I once split a cichlid cohort between heavy scheduled feeding and periodic fasting, tracking growth, color, and nitrates. The fasting group didn't stunt; it thrived. Condition stabilized, behavior normalized, and water parameters improved. That trial taught me: consistency in appropriate feeding beats frequency alone. A feeder's value is in enforcing precise consistency, not in replacing sound protocol.
Which DIY Design Fits Your Constraints?
Three design philosophies dominate the DIY space, each with distinct tradeoffs. For a step-by-step build with parts lists and code, start with our reliable DIY fish feeder guide.
Mechanical Gravity-Based Feeders (No Electronics)
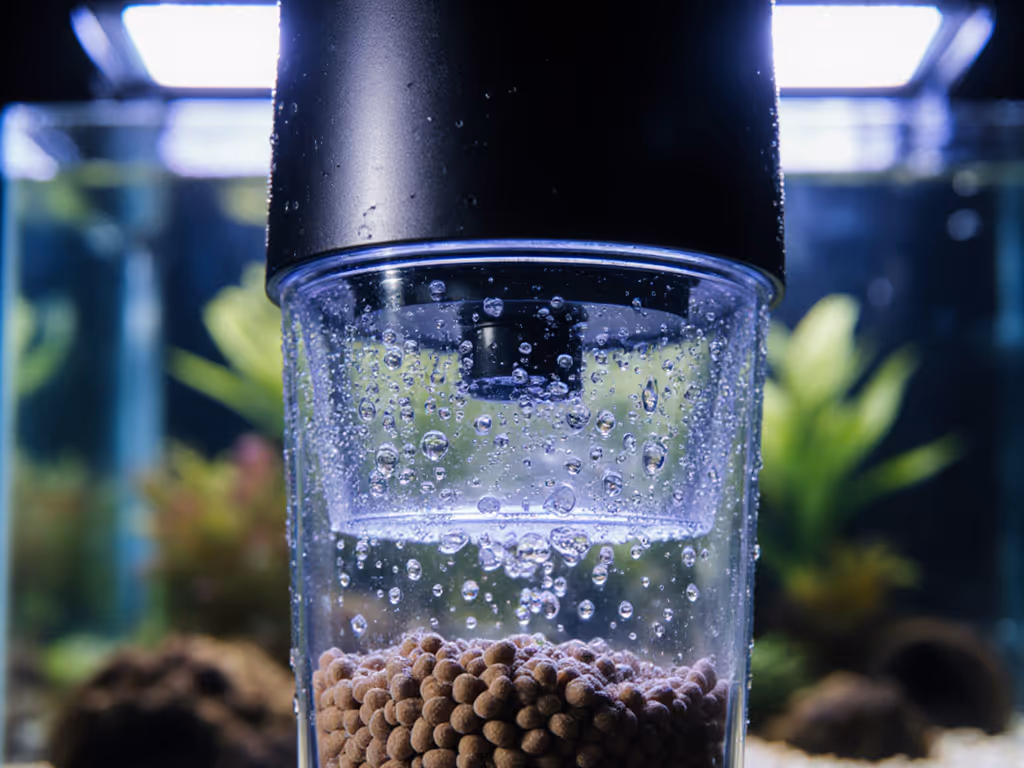
Gravity-powered feeders rely on water drip rates or mechanical levers to dispense food on a timer (entirely passive). Building one requires a reservoir, a metering mechanism (often a small ball or cup actuated by water flow), and a delivery spout.
Advantages: No power supply, no programming, low failure points, silent operation.
Disadvantages: Timing is crude and weather-dependent (temperature affects drip rate); portion control is difficult; food degradation accelerates in humid, wet environments; mechanical friction can jam with dry pellets.
Best for: Low-tech hobbyists comfortable with approximate timing; small portions; non-perishable pellets; short absences (under one week).
Arduino or Servo-Based Feeders (Programmable Electronics)
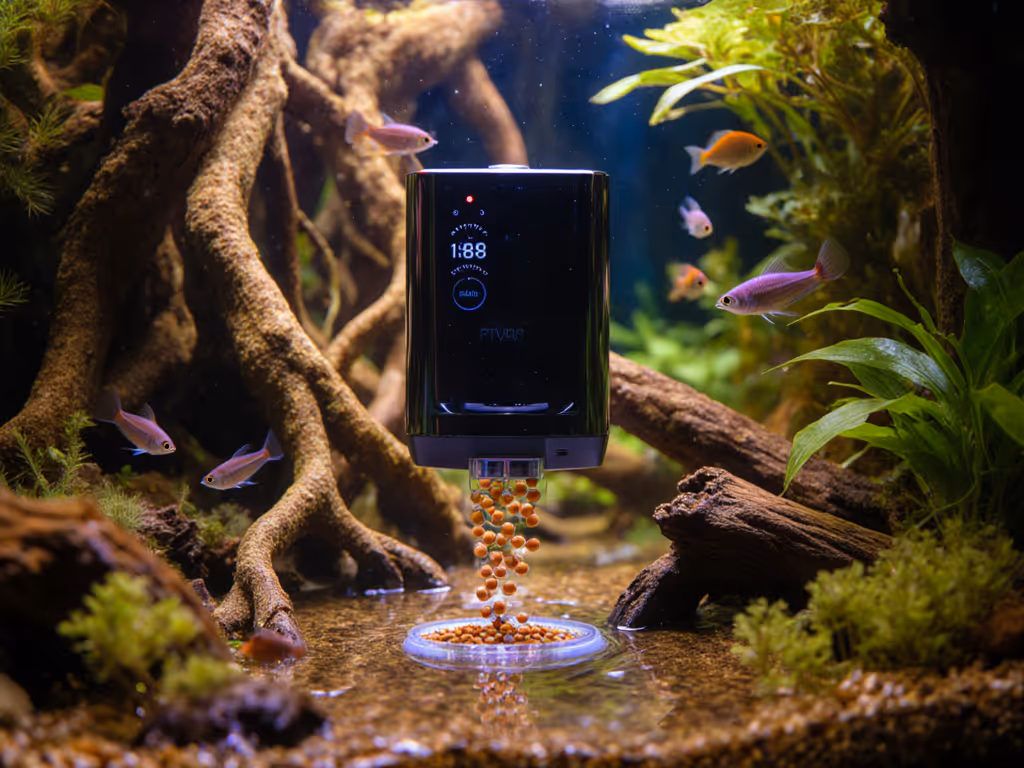
Microcontroller designs (typically Arduino platforms) drive a servo motor or stepper motor that rotates a feed cup or auger at precise intervals. An Arduino Nano paired with a servo motor and simple containerization is the middle ground: affordable, customizable, and capable of 7-day scheduling.
The servo model uses a hobby servo to rotate a food cup that dumps a preset portion per cycle. Code can be set to feed every 12 hours, daily, or on custom intervals. The stepper variant uses a drill bit or auger inside an angled container; as the motor turns, food advances and drops in measured increments. For an engineering deep dive, compare rotary vs auger feeders to choose the right mechanism.
Advantages: Precise timing and portion control; programmable for full weeks; multiple feeds per day possible; code is openly shared and modifiable.
Disadvantages: Requires some electronics knowledge; Arduino boards need USB or wireless programming; servo-based designs work poorly with fine flake foods (they cling to the cup); stepper designs require more mechanical tuning.
Best for: Technically inclined aquarists; multi-species tanks requiring varied schedules; extended travel (7+ days); food types that flow predictably (sinking pellets, medium granules).
Vibration-Based Low-Tech Feeders (Minimal Electronics)
The simplest electronic approach: place a cell phone in vibrate mode inside a food hopper; vibrations shake the container, causing pellets to tumble through a small opening into the tank.
Advantages: Uses parts most hobbyists already own; under 5 minutes to assemble; essentially failsafe for pellets.
Disadvantages: Triggers require calling the phone, so automation is manual and unreliable; portion control is imprecise (vibration intensity varies); doesn't work well with floating foods or fine granules; unsuitable for absence feeding beyond a day or two.
Best for: Backup systems; short absences; hobbyists seeking simplicity over precision.
How Do You Test Build Quality and Consistency?
Before trusting a feeder with live fish, run a dry bench test for at least one full 24-hour cycle. Load it with your actual food and measure output at each trigger. Log portion size, spillage, and jams.
Threshold: if portions vary by more than 10-15% between cycles, the design needs adjustment. Check for:
- Friction points: Does the auger stick? Does the servo position drift? Lubricate hinges but avoid oils that contaminate tank water.
- Food cohesion: Do pellets clump in humidity? Store food in an airtight container and test the feeder with fresh, dry material each session.
- Timing drift: Program a 12-hour interval and verify actual elapsed time between dispenses. Electronics can drift, especially servo-based designs in temperature extremes.
- Overflow: Set it to dispense deliberately high portions. If excess food lands outside the tank, redesign the delivery chute.
After a week of dry testing, run a 3-5 day live trial with the tank. Feed manually at normal times and run the feeder in addition, comparing the automated output to your baseline hand-feeding. Watch for uneaten food hitting the substrate (sign of over-dispensing) and fish behavior (lethargy or aggression often signals malnutrition or instability).
What Maintenance and Monitoring Extends Feeder Lifespan?
Mechanical feeders degrade fastest under high humidity and standing water. Learn how to prevent clumping and preserve food with our feeder moisture control guide. Check seals weekly if the feeder sits on the aquarium rim. Replace any rubber gaskets that show cracks; a failed seal causes food to absorb moisture, swell, and jam the mechanism.
Electronic feeders depend on component durability. Servo motors rated for continuous duty will outlast those designed for intermittent use; if budget allows, select a servo with sealed bearings. Arduino boards tolerate splashing but fail if submerged; house them in a sealed enclosure or wall-mounted controller box at least 12 inches above tank level.
Log feeder outputs weekly. Track the weight or volume dispensed per cycle; degradation shows as increasing spillage or incomplete drops. If portions drift more than 15% over four weeks, recalibrate or clean mechanical paths (dust and food particles cause creep).
How Do You Integrate Feeder Data into Aquarium Management?
Once the feeder stabilizes, treat it as a data source. Note when feeds occurred, portion sizes, and any observed fish responses (behavior, feeding urgency, leftovers). Over 2-3 months, you'll spot patterns: specific times when fish refuse food (often stress-related), seasons when they eat more (usually spring), or thresholds beyond which overfeeding causes nitrate spikes.
Use this log to refine schedules. To align timing with fish biology, use our circadian feeding guide. If your feeder dispenses 500 mg per cycle and you notice uneaten pellets after 10 minutes, 450 mg is likely the true ceiling for your stock. If you're away for two weeks and the feeder logs only 14 full cycles from a programmed 28, a servo is dragging, so investigate before the next trip.
This feedback loop is the feeder's real value: it decouples feeding from your presence and creates a record of consistency. That record, more than the device itself, drives long-term fish health.
Further Exploration
Consider these next steps as you design and test your feeder:
- Document your prototype. Photograph each assembly step and record timing and portion data in a shared format (spreadsheet or open DIY platform). Community documentation accelerates collective knowledge.
- Start with the design closest to your skill level. A failed gravity feeder teaches less than a completed servo-based system. Choose a design you're confident completing rather than the most advanced option.
- Plan a post-build revision phase. Few first DIY feeders run perfectly. Build in a 4-6 week window to refine mechanics, tweak code, or swap motors. Treat the first build as a prototype, not the final product.
- Benchmark against your baseline. Before and after feeder deployment, log fish health metrics: growth rate, color intensity, algae load, water parameters. This data justifies the effort and guides future tweaks.
The feeder is a means to an end: repeatable, evidence-based nutrition that enables your fish to thrive with minimal your intervention. That outcome (consistent health, stable water, and peace of mind during absence) is what separates a clever project from a genuine solution.
Related Articles