Integrate Feeders Into Tank Maintenance
By Sana Okeke • 19th Feb
Feeder maintenance integration and aquarium routine synchronization are not afterthoughts, they are structural requirements for any aquarium that runs on automation. The moment you add an automatic feeder to your system, you've fundamentally altered your maintenance rhythm. Treating the feeder as a separate tool, rather than a component of your water quality ecosystem, is how most aquarists end up with ammonia spikes, inconsistent feeding, or worse, a feeder that fails exactly when they need it most. This article walks through a scenario-based framework for weaving feeders into your existing tank care without compromising either system.
1. Map Your Weekly Water Change to Your Feeding Schedule
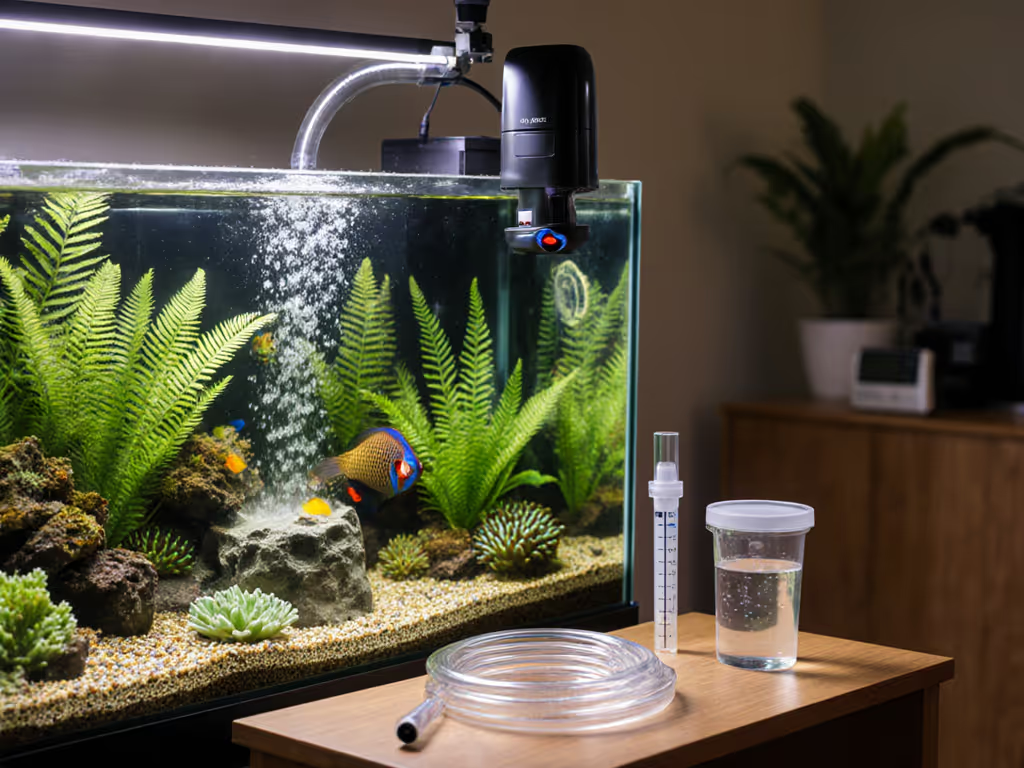
The relationship between feeding and water changes is direct and measurable. For a deeper dive into why this matters, see our science-backed feeding. Every gram of food that enters your tank eventually becomes organic waste (ammonia, then nitrite, then nitrate). If you're feeding on a random schedule and changing water on a different random schedule, your biofilter is managing a moving target. Begin by anchoring your feeder's cycle to your water change day. If you perform water changes every Sunday, that's when your biological filter has its fullest capacity to handle the following week's organic load. Schedule your feeder's highest portion deliveries in the five days after the water change, when fresh water and restored bacterial populations are optimized.
This is not elegant theory, it is preventative maintenance. Facilities managing large-scale feeding systems calibrate on schedules and adjust based on observed patterns. Your home aquarium deserves the same rigor. Use your feeder's programming window to establish a graduated delivery curve: lighter portions immediately post water change, ramping slightly toward midweek, then tapering as the next water change approaches. This reduces ammonia accumulation and keeps nitrate spikes predictable rather than chaotic.
2. Establish a Daily Feeder Observation Protocol
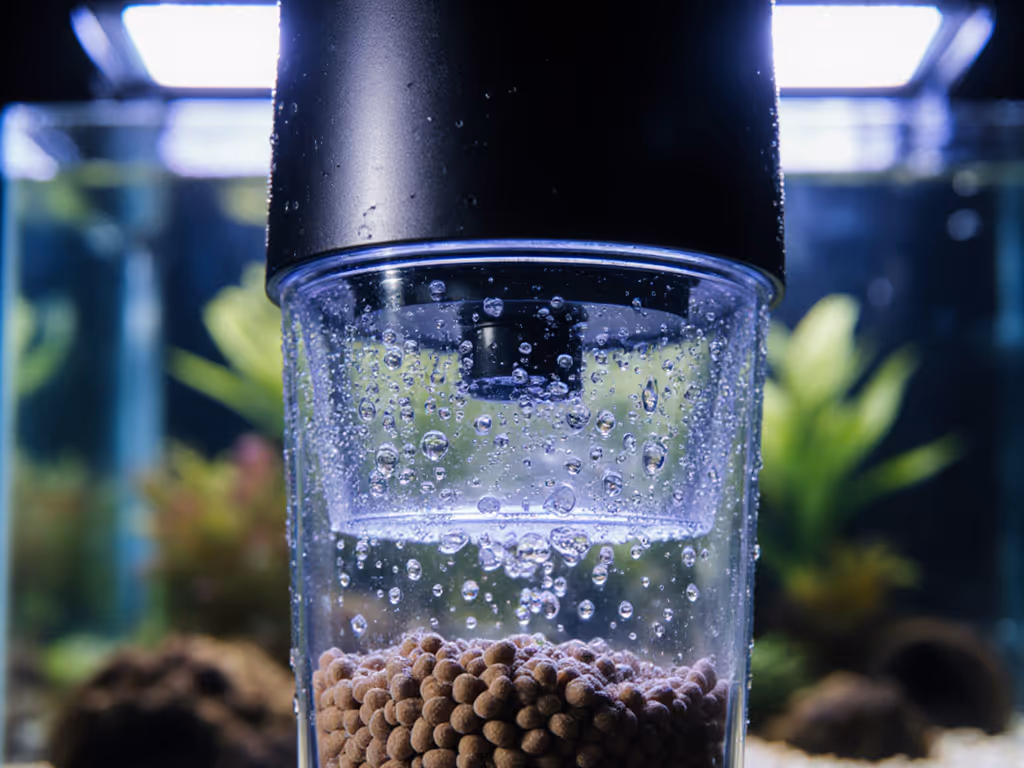
Automation creates a dangerous psychological permission to ignore. The feeder is dispensing, so the fish must be fed, and therefore the tank must be fine. This logic has failed countless aquariums. You must observe the feeder itself every single day, regardless of its sophistication. Watch it dispense. Listen for the motor. Note whether portions fall cleanly into the tank or stick in the hopper. Check for dust, moisture, or pellet degradation inside the hoppers (all indicators of storage problems that cascade into mechanical failure). To prevent clumping before it starts, follow our fish food storage.
The practical workflow: Spend 90 seconds in front of the tank every morning. Check water temperature, filter flow, and livestock activity, and watch the feeder operate if you're on a schedule that includes a morning feed. Document what you see. Over weeks, patterns emerge: does the feeder hesitate on Wednesdays? Does moisture accumulate after humidity spikes? Does a particular pellet size cause jams? This data informs your maintenance intervals and alerts you to failures before they become crises. If you're traveling and relying entirely on automation, this daily record gives you confidence, not blind faith.
3. Synchronize Calibration with Seasonal Feed Changes
Feeder calibration is not a set-it-and-forget operation. Every variable change (new feed batch, seasonal switch to maintenance or conditioning pellets, temperature-driven appetite shifts) requires recalibration. The critical insight is to batch your calibration events with your maintenance schedule. Do not recalibrate randomly; do it on the same day as your monthly full-system audit or your quarterly equipment check.
Here's why: calibration requires you to dispense feed into a container, weigh the output, adjust the system, and repeat until accuracy falls within your acceptable range (+/- tolerance). This is labor-intensive. If you're calibrating weekly without a structured framework, you're wasting time and introducing variability. Instead, establish a tiered calibration schedule: calibrate at feed brand changes, after 30 days of operation with a new feed, and then move to a maintenance interval (perhaps monthly or quarterly, depending on your feeder's drift pattern). Log every calibration result. Feed size and blend ratios demand immediate recalibration; this is non-negotiable.
By anchoring calibration to your maintenance calendar rather than to random concern, you reduce mental load and catch dosing errors before they harm your biofilter.
4. Coordinate Biofiltration Boosters with Feeder Uptime
Your feeder is a stressor on your biofilter. Every dispense event increases organic load. If you're running a newer feeder or experimenting with a feed type your tank hasn't encountered before, your bacterial colonies are operating under added pressure. This is where biological supplements (bacterial cultures or enzymatic cleaners) become part of your integrated maintenance, not optional add-ons.
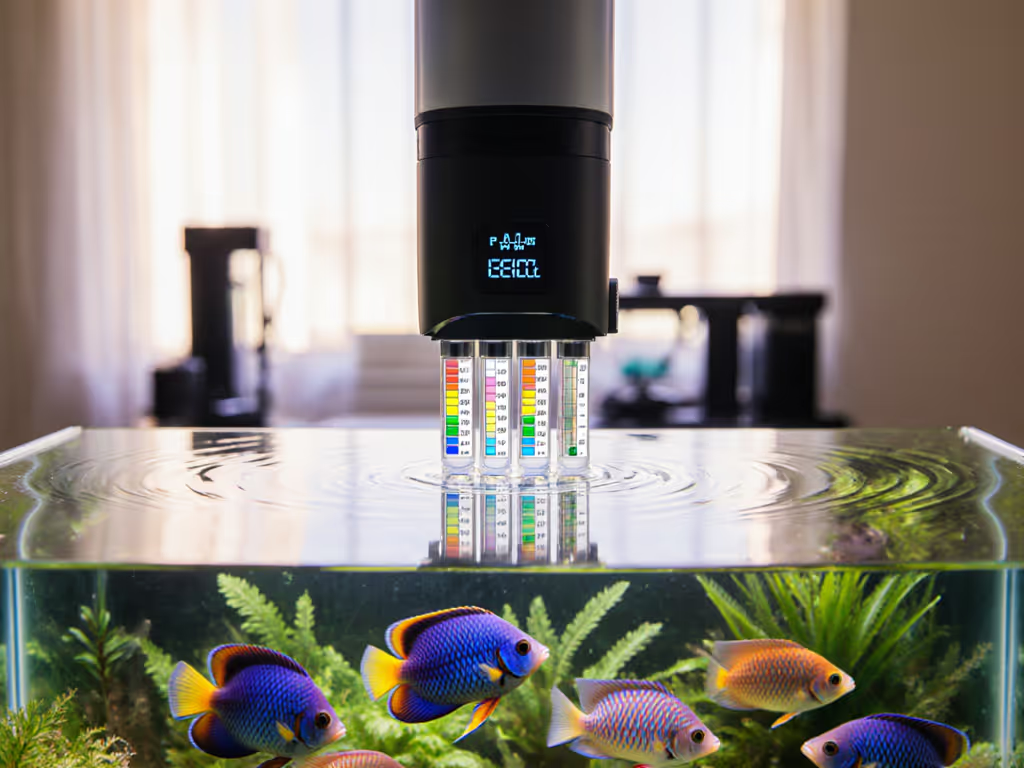
Schedule your biofiltration boosts around feeder operational cycles. If your feeder ramps up portions midweek, dose your biological enhancer at the same time or 24 hours prior, priming the bacteria for the incoming load. This requires you to track feeding intensity and water parameters in parallel. Test ammonia, nitrite, and nitrate levels weekly, always on the same day; correlate those results to your feeder's output for the preceding week. Over time, you'll recognize the rhythm: "High portions last Tuesday + no booster = elevated ammonia Friday." That feedback loop is the difference between guess and adjust and scenario-based optimization.
5. Plan Your Travel Feeding Protocol Three Weeks in Advance
This is where feeder maintenance integration separates confidence from anxiety. A week before a trip, your feeder should have been running flawlessly for at least two months. You should have a calibration record showing consistent accuracy. Your hopper should be clean, dry, and free of old pellets. Your water parameters should be stable for at least four weeks. If any of these conditions aren't met, you have a problem, not when you're boarding a plane, but now, while you can still troubleshoot.
Three weeks before departure: perform a full equipment audit. Run the feeder through a complete manual cycle. Verify all portions dispense correctly. Inspect the hopper, motor, and discharge chute for degradation. Clean everything. Switch to a slightly lower daily total portion than your fish normally receive (slightly, not drastically) to reduce biofilter stress while you're absent. The goal is conservative and predictable, not minimal and risky. Two weeks before: perform a water change, test all parameters, and boost biofiltration. Document everything. One week before: run a 48 hour feeder test with reduced portions to confirm no malfunction occurs. For model-specific performance data before you go, review our 14-day vacation test. This is not paranoia; it's the difference between sleeping soundly during your trip and spending it worried that your livestock is suffering.
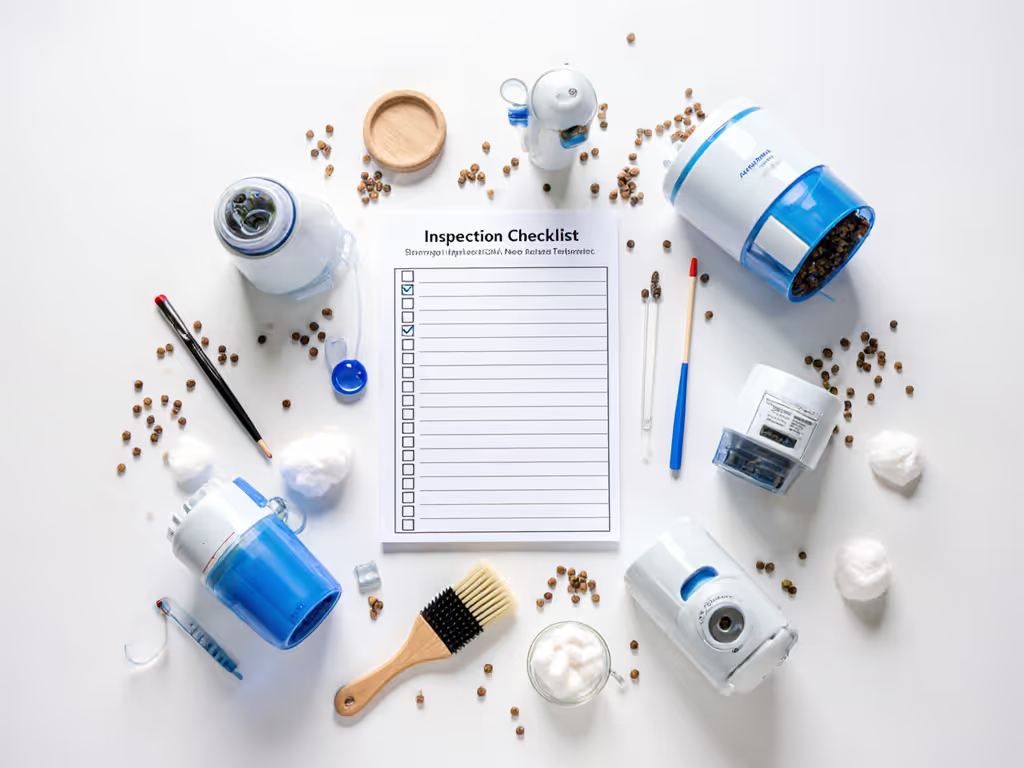
6. Maintain Spare Parts and Support Access
This is the pragmatic foundation of feeder reliability. Before you buy a feeder, research its spare parts availability. Can you replace the hopper separately? The motor? The selector gears? Are replacement parts readily available, or are they discontinued? Are they affordable? Does the manufacturer offer responsive support, or will you be troubleshooting alone on a Saturday night?
Support and spares matter. They determine whether a feeder malfunction is a 30 minute fix or a catastrophic tank event. For what "support" actually means across brands, read our feeder warranty comparison. Before integrating any feeder into your maintenance routine, verify that you can source replacement components and that the manufacturer's documentation is clear and accessible. This is not a feature list item; it's a prerequisite.
Summary and Final Verdict
Integrating feeders into your tank maintenance is not about adding another chore, it is about redefining your aquarium as a system with feedback loops and interdependencies, where feeding, water quality, biofiltration, and observation are mutually reinforcing. Before a two week trip, I tested three feeders on my reef and a brackish tank across different humidity and pellet types. Only the unit with a locking hopper, gasketed drum, and clear UI survived without deviation. That taught me a hard lesson: travel proof first, features second; your sleep is worth the specification sheet. Buy once, maintain easily, and sleep well on travel days.
The right feeder is the one you can maintain correctly every time. This requires mapping your feeder's operational rhythm to your water change schedule, establishing daily observation protocols, synchronizing calibration events with your broader maintenance calendar, coordinating biofiltration support with feeding intensity, and vetting your feeder's spare parts availability and manufacturer support before you integrate it. Automation without this integration is drift masquerading as reliability. Structure beats convenience. Always.
Related Articles